Now that we have all our ingredients. Lets stick some of it together. First, we have to add our stabilizers. Because pictures will not do enough justice, here is video that is clear on where and how to mount your stabilizers correctly. The installation begins at 8 minutes and 15 seconds into the video. After the stabilizers are mounted, lay the plate directly on top of the pcb and then putting in the switches. Make sure to align the pins correctly with their respective holes as shown below
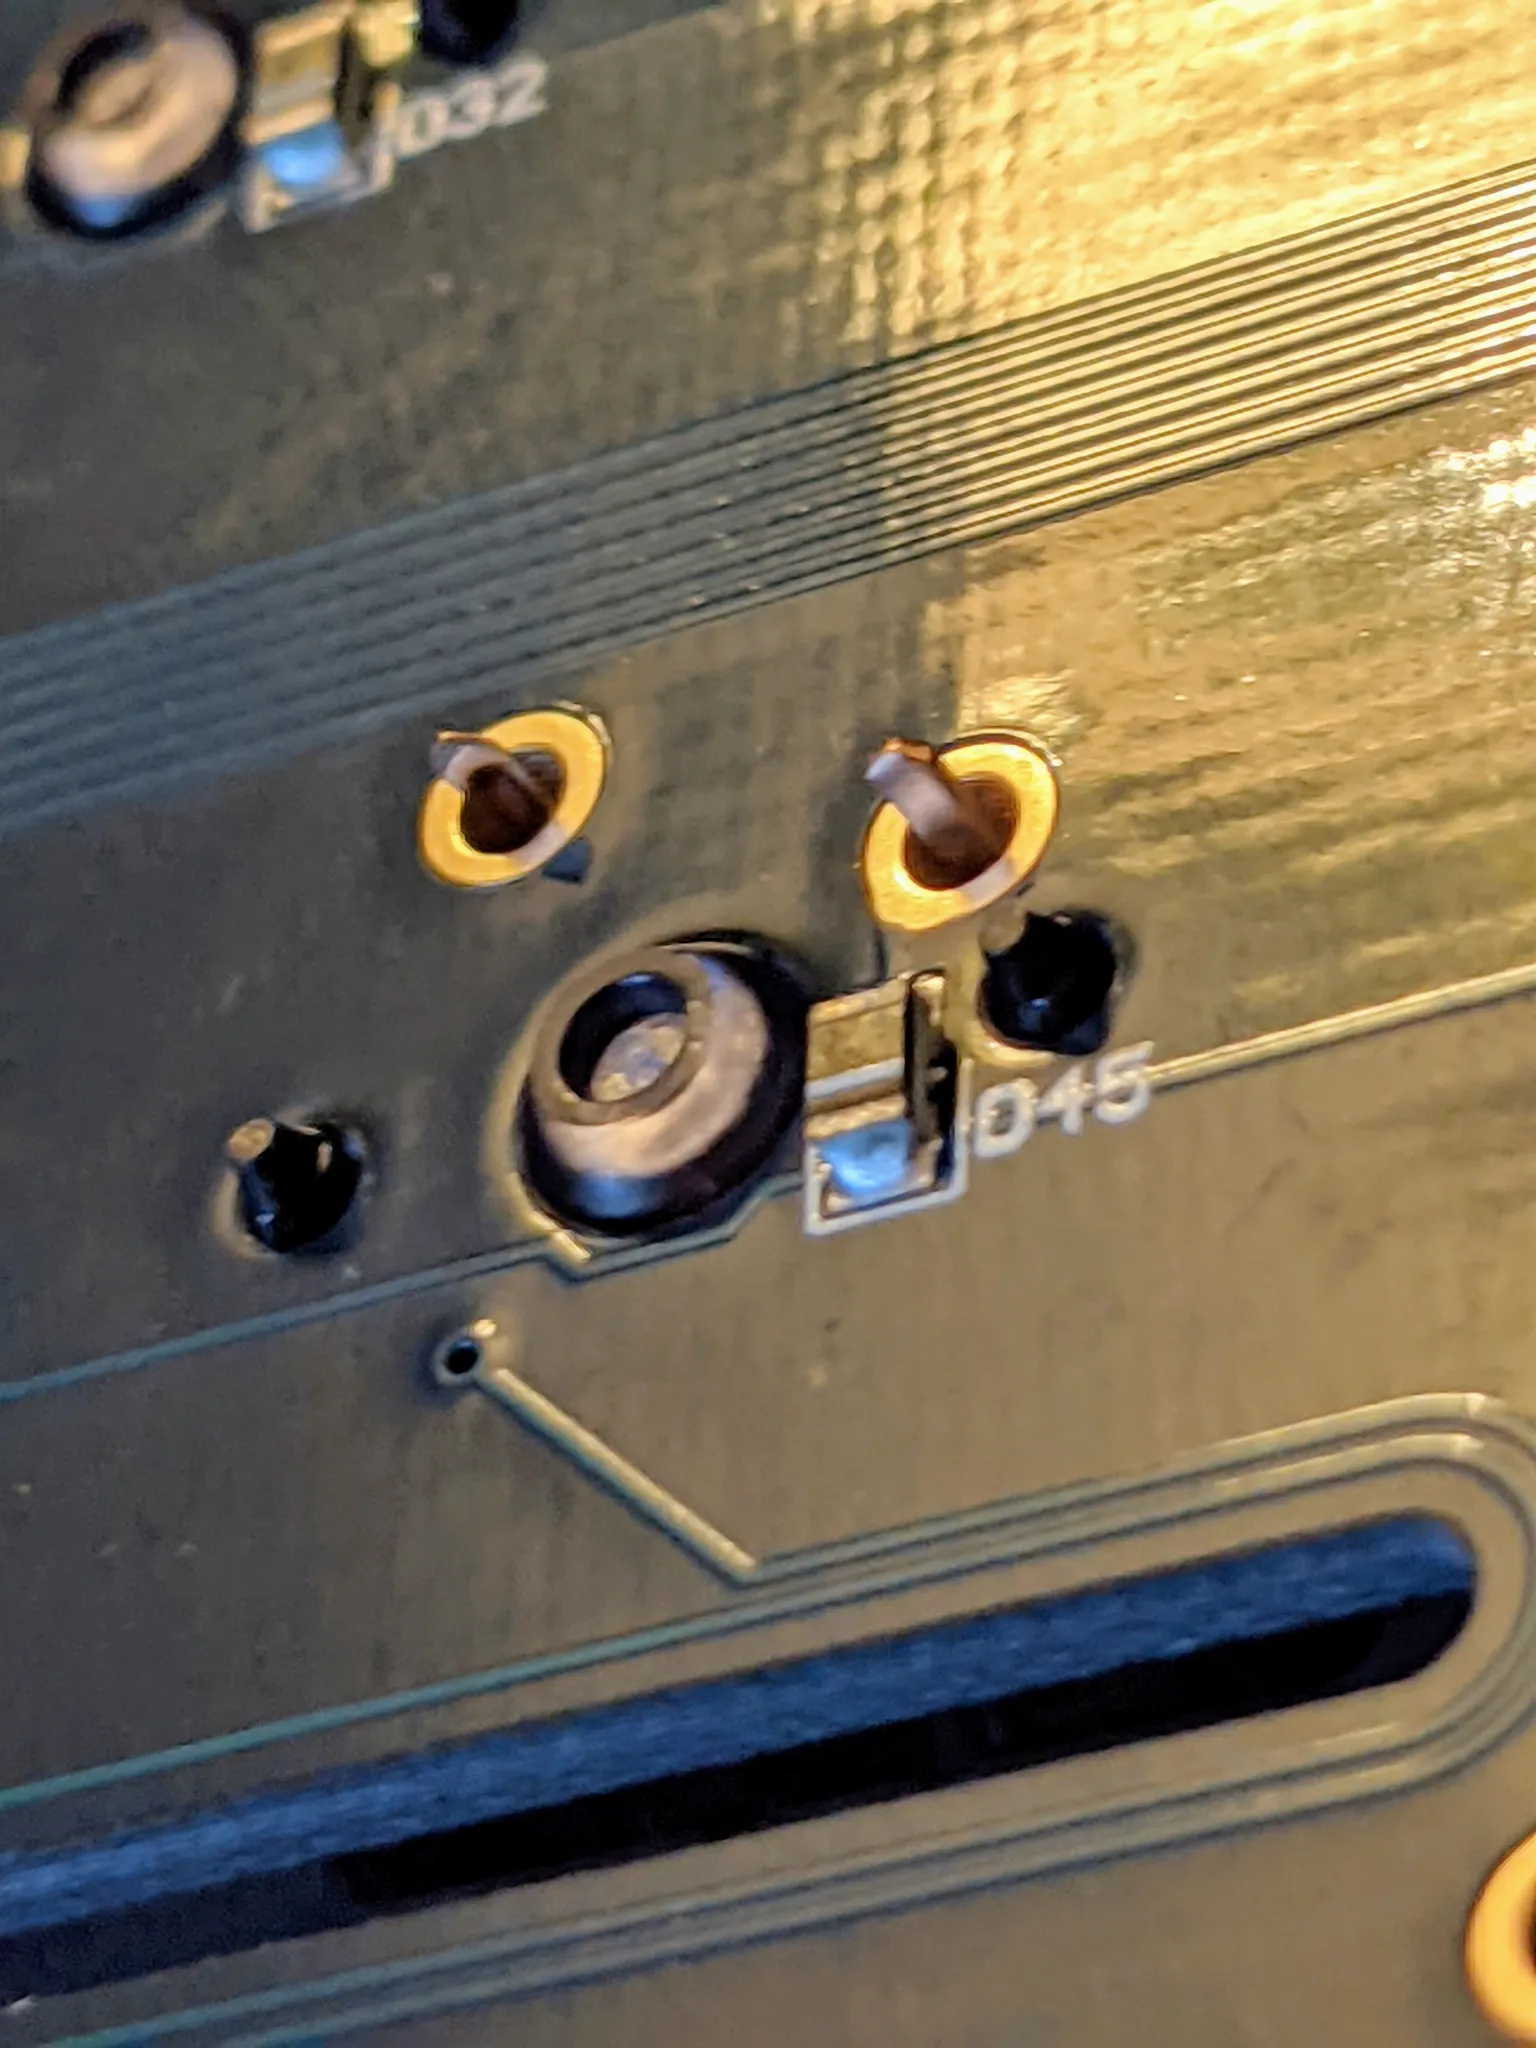
These pins poking out on the back of the pcb now need to be soldered. Brandon Taylor does a solid guide on soldering and makes the process less daunting then it should be. As mentioned in the video, it is key to make sure you are in a ventilated area and consider wearing safety goggles in the event of a freak accident. And finally, make sure to only apply heat on the pad for about 2-4 seconds max to avoid damaging the pcb. Although they are built to withstand immense heat, it is generally not in your best interest to limit test on an expensive piece of tech.